
Nothing changes the look of a home faster than a clean wood floor upgrade. Many homeowners feel confused about how materials are prepared, leveled, and fixed properly before finishing work begins. Understanding how wooden flooring is installed helps reduce mistakes and gives a clearer idea of what happens during renovation projects from start to finish.
In most homes, the process follows careful steps, including surface preparation, moisture checks, and accurate fitting methods. A proper wooden floor installation process ensures boards sit evenly without gaps or movement over time. For example, in living room upgrades, professionals follow a complete guide to the hardwood flooring installation process to match the design layout and room size. This helps create a stable surface while using modern wood flooring techniques that improve durability, comfort, and long-term appearance across different interior spaces.
How Wooden Flooring Is Installed Today
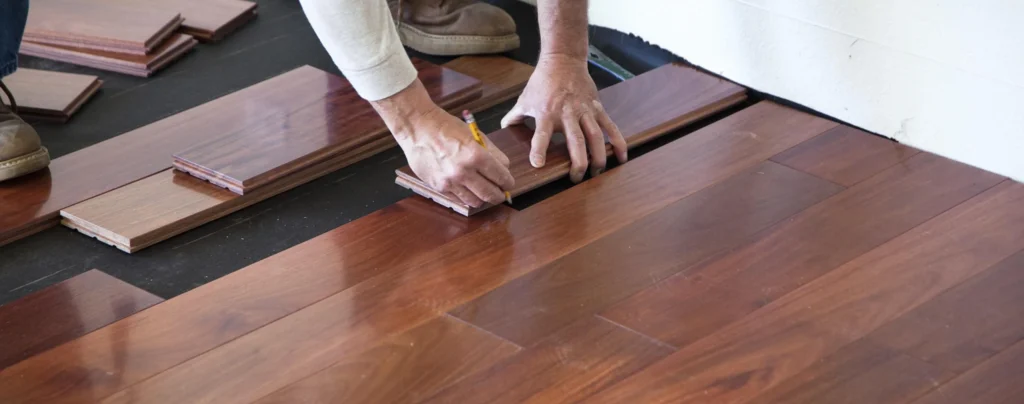
Uneven floors, squeaks, and loose boards often come from poor-fitting work. Many homeowners want a clear idea of how wooden flooring is installed before starting a renovation. Proper installation helps avoid gaps, movement, and early damage while improving both strength and room appearance over time.
A correct wooden floor installation process starts with surface leveling, moisture checks, and careful layout planning. Each plank is placed with precision to ensure long-lasting support and a smooth finish. A good hardwood flooring installation also improves comfort and adds value to the home.
Choosing the Best Wood and Installation Method Today
Solid Hardwood vs Engineered Wood Options
Solid hardwood offers strong, long-term value and can be refinished many times. It works best on stable subfloors like plywood. Engineered wood is more flexible and handles moisture better, making it suitable for concrete bases. For example, basement rooms often use engineered planks because they resist slight humidity changes. Both options are common in modern wood flooring techniques, depending on budget and room conditions, as highlighted in restaurant exhibition interiors.
Nail Down, Glue Down, and Floating Systems
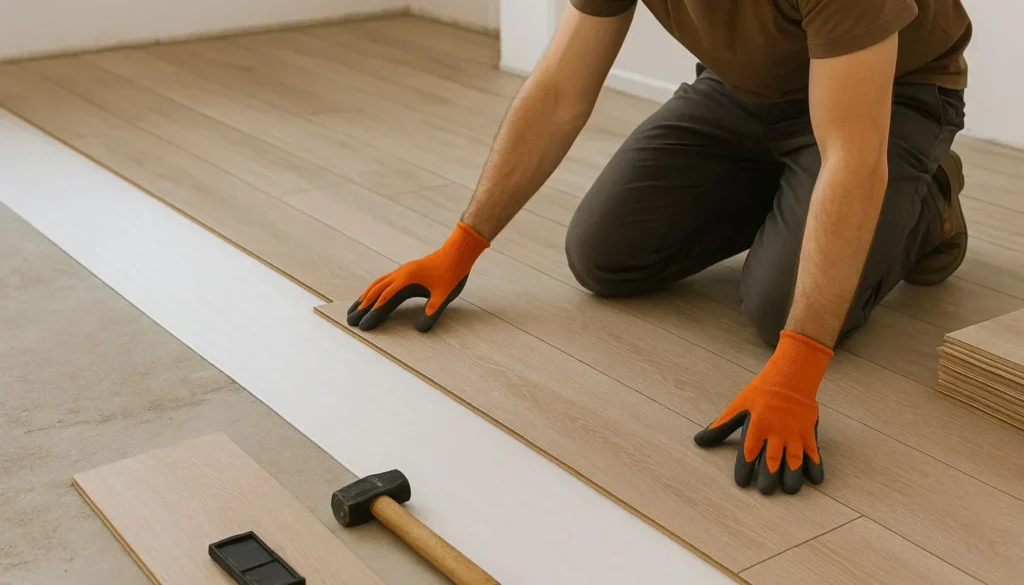
Nail-down installation is used on wooden subfloors for a strong grip and traditional hardwood flooring installation results. Glue-down works well on concrete for firm bonding. Floating floors click together and sit over underlayment without direct fastening. This floor-fitting process is popular in apartments because it is faster and easier to repair if needed.
Comparison Table
| Method | Cost | Durability | Skill Level | Best Subfloor |
| Nail Down | Medium | High | Advanced | Wood |
| Glue Down | High | Very High | Advanced | Concrete |
| Floating | Low to Medium | Medium | Beginner | Any Smooth Base |
Tools and Materials Needed Before Floor Fitting Begins
Before starting any wood project, proper planning avoids damage and uneven results. A smooth floor fitting process depends on having the right tools and materials ready before installation begins on site.
Cutting and Measuring Tools
Essential flooring tools include a saw,, tape measure, and spacers. A saw helps cut planks to size, while spacers keep even gaps near walls for natural expansion during temperature changes.
Surface Preparation Tools
A moisture meter checks if the subfloor is dry enough. Sanding tools and leveling kits help remove bumps. This ensures installation materials sit evenly and prevent future movement or squeaks.
Installation Materials Checklist
- Underlayment for sound control and comfort
- Wooden planks for the main flooring surface
- Adhesive or nails, based on the method
- Moisture barrier for protection against dampness
For example, in a home renovation, a moisture barrier is often added in ground-floor rooms to protect wood from hidden damp spots and extend floor life.
Preparing the Subfloor for Stable and Lasting Results
Good results always start with proper surface work. Many flooring problems, like gaps, squeaks, or lifting boards, happen because subfloor preparation was skipped or done poorly. A clean, flat, and dry base helps support long-lasting hardwood flooring installation and keeps the floor steady under daily use.
Moisture Testing and Surface Level Checks
Moisture testing is done to confirm the base is safe for wood. If readings are too high, drying time is needed before work continues. Small uneven areas are corrected with leveling compound. For example, concrete floors in ground-level rooms often need extra drying checks, while plywood bases may need sanding to remove bumps for a smooth fitting.
Underlayment and Vapor Barrier Setup
Underlayment is placed to reduce noise and improve comfort. A vapor barrier is added to block hidden dampness from reaching wood. In many homes, this step is essential for concrete surfaces where moisture can rise slowly. This stage ensures strong subfloor preparation and protects flooring from future damage.
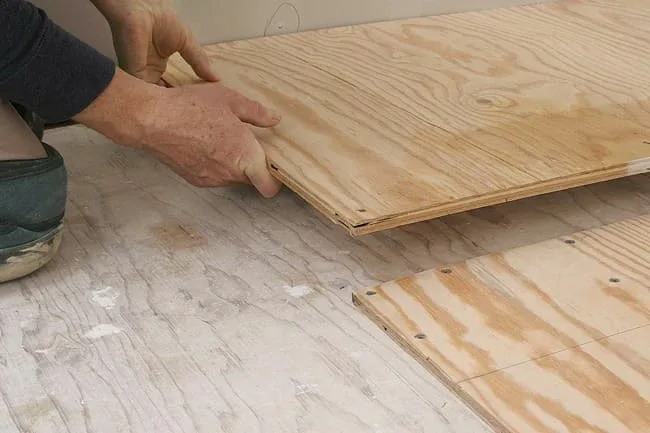
Acclimating Planks to Prevent Gaps and Future Warping
Wood changes with temperature and moisture in the air. If planks are installed too early, they may expand or shrink later. This leads to gaps or uneven surfaces. Proper wood acclimation helps the material adjust to room conditions before fitting, so the final result stays stable and smooth, as highlighted in retail showroom interiors.
Most manufacturers suggest leaving planks inside the room for at least 48 to 72 hours. Some thicker hardwood types may need up to five days. This step is an important part of the wooden floor installation process because it reduces future movement. For example, in humid climates, homeowners often keep boxes open longer to balance moisture levels before installation begins.
Laying the First Rows With Perfect Alignment Techniques
Starting the first rows correctly is the most important part of hardwood flooring installation. If the first line is uneven, the entire floor can shift out of shape. A straight guideline is marked first, so every plank follows a clean direction across the room.
Measuring Expansion Gaps Along Room Edges
An expansion gap is left between the wall and the planks to allow natural wood movement. Spacers are placed along all edges to maintain an equal distance. For example, in a large living room, small gaps prevent pressure buildup during seasonal humidity changes and protect the floor from lifting.
Staggering End Joints for Natural Appearance
Plank alignment improves both strength and design look. End joints are staggered so they do not line up in a straight row. This wood flooring technique creates a natural pattern and improves stability. Careful plank alignment in early rows ensures the rest of the floor stays straight and balanced, as highlighted in acoustic door systems.
Step-by-Step Professional Wooden Floor Fitting Guide
A clear process helps ensure smooth results and fewer mistakes during installation. The floor fitting process follows a structured plan from first measurement to final inspection, so every stage stays controlled and accurate.
Step 1: Submission of Request
Room size, design goals, and material choice are confirmed first. This step helps define what type of wood will be used and how much material is required for installation planning.
Step 2: Insurance Verification
Subfloor condition and moisture levels are checked carefully. Compatibility testing ensures the surface can support wood without future damage or movement during seasonal changes.
Step 3: Technical Review
Board quality, layout pattern, and installation method are reviewed. This stage ensures the plan matches the design and follows safe building standards before work begins.
Step 4: Approval or Adjustment Decision
The final layout is confirmed, and any design changes are approved. This ensures alignment between expectations and how professionals install wooden flooring in houses.
Step 5: Final Notification and Completion
Installation is completed, and the surface is inspected for gaps or uneven areas. This reflects a full step by step how wooden flooring is installed in homes, ensuring a clean and stable finish.
Cutting Boards Around Walls and Door Frame Openings
Cutting boards around the edges need careful measuring and steady hands. Walls and door frames are not always straight, so accurate marking is important. This stage of hardwood flooring installation helps ensure every plank fits tightly without gaps or uneven edges, as highlighted in commercial furniture fitout.
Measuring Irregular Cuts for Clean Fit
Accurate marking is the first step in wood cutting techniques. Each plank is measured against the wall shape and marked before cutting. For example, corners in older homes are often uneven, so extra care is needed to match the real wall line for precise floor fitting.
Undercutting Door Jambs for Smooth Entry
Door frames are slightly cut at the bottom so planks slide underneath. This creates a clean finish without visible gaps. A small saw is used carefully to avoid damage to the frame while keeping the flooring level.
Safety Tips for Cutting Work
Always wear safety glasses and hold boards firmly before cutting. Keep fingers away from blade paths and use stable surfaces. Proper handling ensures safe work and better accuracy during installation.
Finishing Touches That Complete the Wood Surface Well
Final steps make the floor look complete and polished. After the main boards are placed, small details are added to cover edges and connect rooms. Properly finishing wood floors improves both appearance and long-term protection from daily wear.
Installing Baseboards and Floor Trim
Floor trim installation covers the gaps between walls and flooring. Baseboards are fixed along edges to hide expansion space and create a clean border. In doorways, transition strips are used to connect different flooring types and prevent tripping or uneven surfaces.
Cleaning and Final Inspection
After installation, the floor is cleaned to remove dust and small debris. A full inspection checks for gaps, loose boards, or uneven joints. For example, installers often walk the entire room to confirm smooth surface alignment and proper fitting, as highlighted in mosque furniture craft.
First Week Care and Maintenance Tips
Avoid heavy furniture movement during the first week. Use soft cleaning tools and avoid excess water. This helps the surface settle properly and protects new finished wood floors from early damage or scratches.
Common Errors That Can Ruin a New Wood Floor Quickly
Even small mistakes during hardwood flooring installation can cause long-term damage. Many problems appear later as gaps, squeaks, or warps. Understanding common wood flooring mistakes helps avoid costly repairs and keeps the surface stable for years.
Common Mistakes and Their Effects
| Mistake | Symptom | Solution |
| Skipping wood acclimation | Boards expand or shrink after installation. | Let the wood adjust to the room for 48 to 72 hours |
| Ignoring moisture levels | Warping or cupping boards | Always test the subfloor before fitting |
| Incorrect expansion gap | Buckling near walls | Use spacers for even spacing |
| Poor plank alignment | Uneven or shifted floor lines | Start with a straight reference line |
| Bad cutting around edges | Visible gaps and rough finish | Use precise measuring tools |
Why These Errors Matter
Floor-fitting problems often start from rushed preparation. For example, installing wood on a damp concrete floor can lead to swelling within weeks. Careful planning and proper tools help prevent these issues and ensure a smooth, lasting finish.
Final Thoughts on How Wooden Flooring Is Installed
A strong floor always starts with careful preparation. When the base is clean, dry, and level, the final result becomes more stable and long-lasting. Every stage of fitting, from layout to cutting and finishing, plays an important role in overall quality and comfort, as highlighted by Mandeep Furniture.
Understanding how wooden flooring is installed helps you avoid common mistakes and achieve a smoother result. A complete guide to the hardwood flooring installation process shows that small details like spacing, alignment, and finishing can change durability over time. Proper hardwood flooring installation is not only about tools but also about patience and accuracy in every step.
Frequently Asked Questions About Wood Floor Fitting
Most rooms take two to five days. Time depends on room size, surface condition, and skill level during the installation process.
Yes, it can be installed over concrete if moisture levels are low. A vapor barrier is often added for protection and stability.
Yes, most wood floors need time to adjust to room conditions. This prevents gaps from swelling or shrinking after installation.
Floating floors are easiest for beginners. They use click systems and avoid nails or glue, making the process simpler.
Expansion gaps are usually around 10 to 12 millimeters. This allows wood to move naturally with temperature changes.